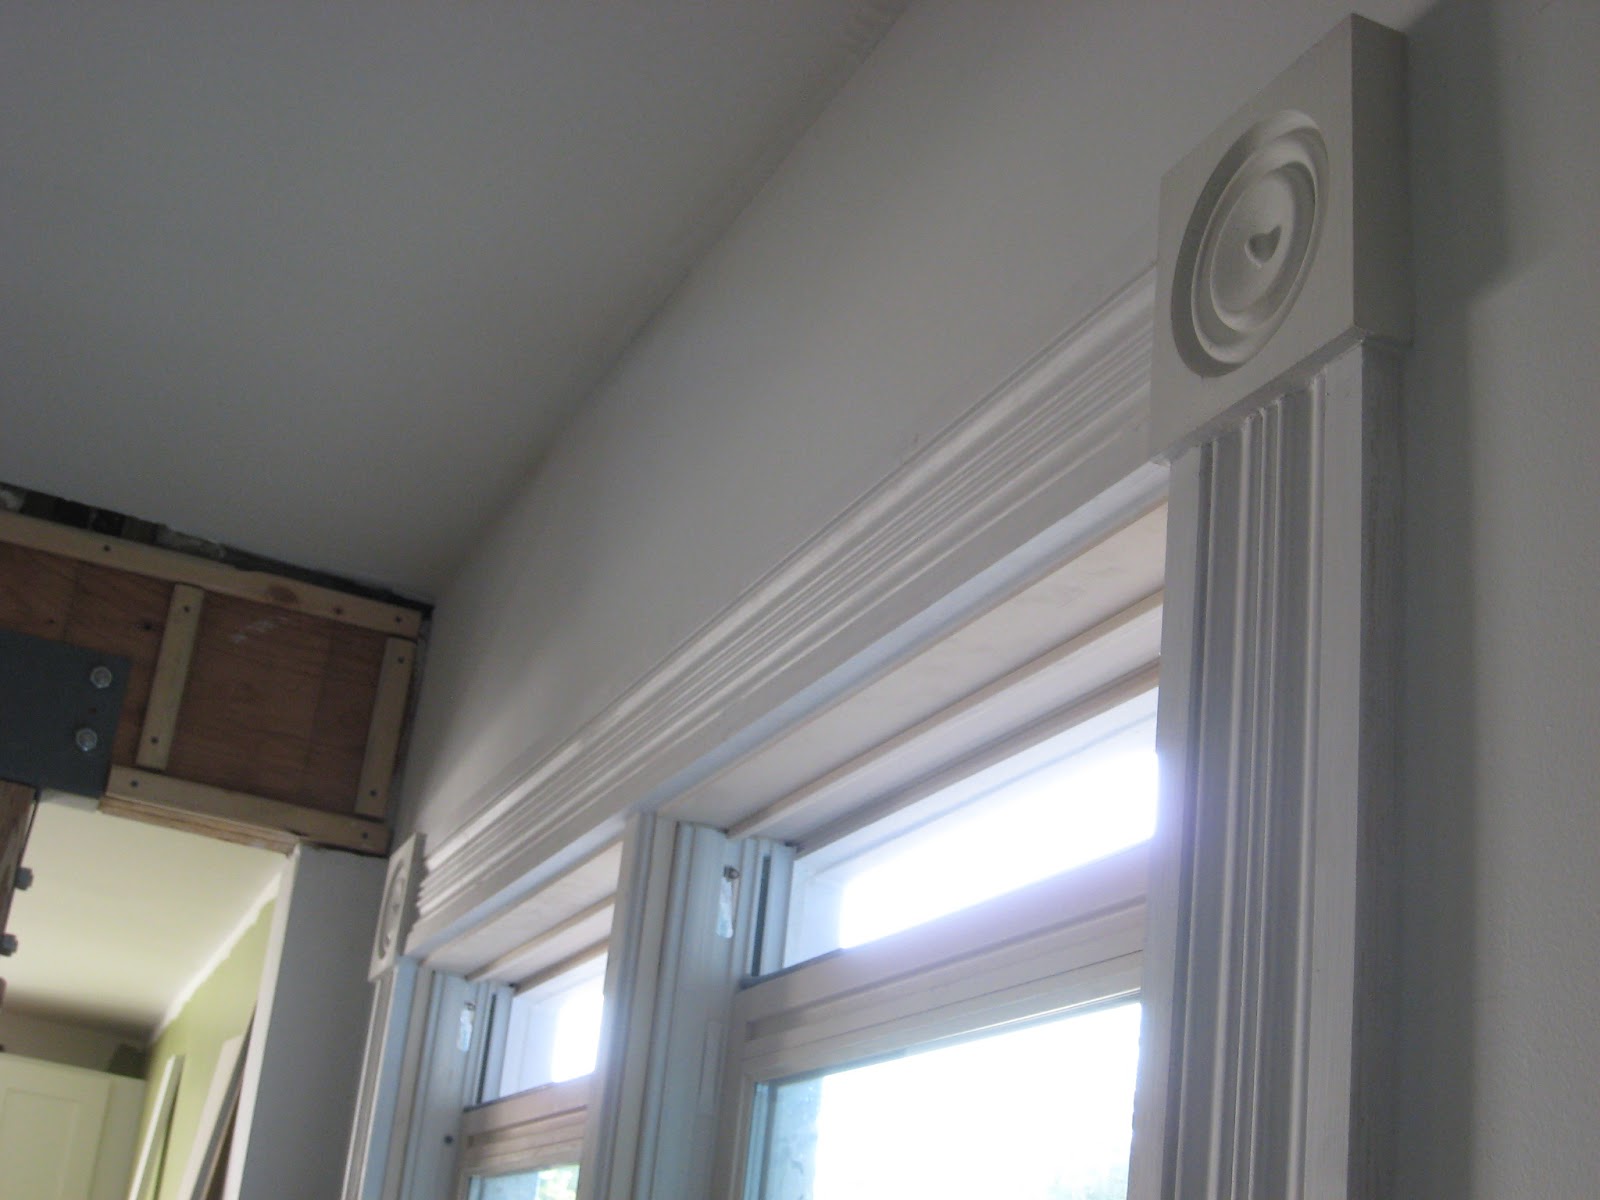
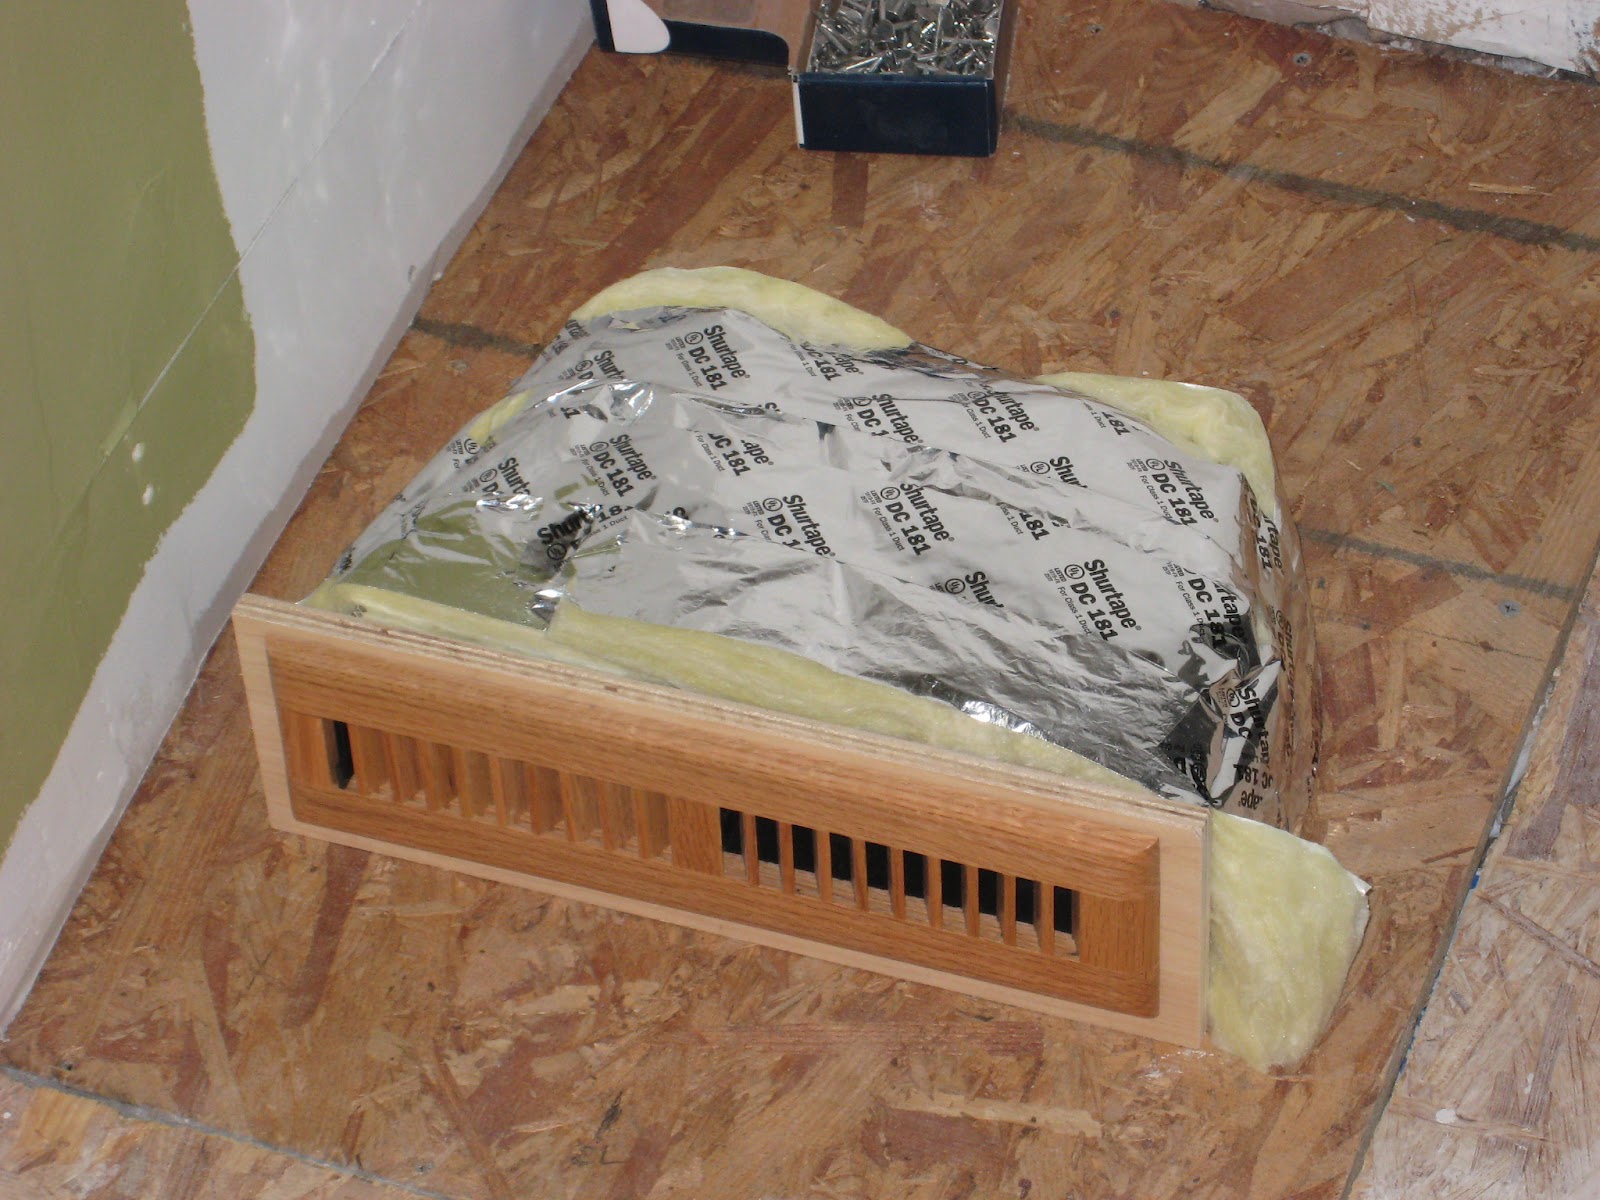
This weekend was trim weekend. No explanation needed; here are the pictures:
Monday, May 28, 2012
Sunday, May 20, 2012
It's been another busy couple of weekends. We've been tearing out the bathroom downstairs which has turned into a bigger project than we imagined. Whoever renovated it last didn't build the floor correctly, so rather than live with a trampoline-like floor in the new bathroom we decided to tear everything out. Yes, the floor joists in the picture below are 2x4's!!
Since we had the bathroom floor out of the way we decided to clean out a bit down there before we put the vapor barrier down. It seems like every time we go digging down below the house we find some interesting things. A few weeks ago I found an 1865 Indian Head penny under the house, and this day, while digging out old bricks and clearing out some old wood we found a huge pile of old trash. Most of it was broken glass and plates, but there were some cool finds too:
- an old French's mustard jar from early 1900's
- a couple old soda or beer bottles with the corks still intact
- a large Richmond Dairy milk bottle
- an old liquor bottle
- a bunch of small perfume or spice bottles
- an old wooden door knob
- an old key...who knows, maybe it fits the front door knob
...and then we found these...
Once that was all torn out it was time to re-frame everything, this time with new 2x8's...
The area to the left will be where the new shower goes. That part will be recessed so we can eliminate the curb. We'll see how it goes, because A. I'm not a plumber and B. it's a different kind of drain, a linear trench drain which is harder to find info on.
Here's the old plumbing....nothing's tied down and it's coming straight up through the floor, not out from the wall. So, like everything else on this renovation the only solution is to tear it out and redo it.
The toilet plumbing was moved to the other side of the room to free up some space. We have to squeeze out every bit of room we can get.
- an old French's mustard jar from early 1900's
- a couple old soda or beer bottles with the corks still intact
- a large Richmond Dairy milk bottle
- an old liquor bottle
- a bunch of small perfume or spice bottles
- an old wooden door knob
- an old key...who knows, maybe it fits the front door knob
...and then we found these...
...an old pair of leather kids shoes. One pair looked like small boots, the other just regular shoes. Now I've seen enough horror movies to know that it's always a little kid that haunts a house, so hopefully that's not the case here.
Here's a broken plate with a date of 1923. Not sure what kind of plate it was but it has a small calendar of each month around the border.
Time to insulate...the new plumbing for the sink and toilet is in the background, and coming out from the wall like it's supposed to.
I can't find a picture of the bathroom from today but we put the floor down. Next week we're planning on starting the shower build out. Can't wait until this thing is DONE!
Sunday, April 15, 2012
Things have been busy lately and we've had a few slow weeks on the house. BUT, we did get one big thing checked off the list; that was getting the downstairs floors refinished. Here are some pictures...
The day before Easter Sarah and her mom dug up the overgrown plants in the garden in front of the house. Then they planted some new ones that look so much better!
Sarah took the cool pictures below...
And there was work to be done inside too. We spent the rest of Easter weekend installing the shoe molding on the lower level.
The day before Easter Sarah and her mom dug up the overgrown plants in the garden in front of the house. Then they planted some new ones that look so much better!
Sarah took the cool pictures below...
Monday, March 5, 2012
Getting closer
Well, we just finished up a four day weekend worth of work and got quite a bit accomplished. We've finished hanging the kitchen cabinets (except for a few trim pieces here and there) and also finished tearing out the old carpet from the front bedrooms. In the coming weeks we'll have the floors refinished so we can finally put our things in the bedrooms permanently, not just as temporary storage.
And here are some pictures from the weekend:
Millie's always excited when we go work downstairs.
This cabinet was a little tricky. Aside from the usual leveling there's a duct coming in at the toe kick; so that had to be lined up as we slid the cabinet over. For anyone getting ready to redo a kitchen....if you can avoid having registers in the toe kick avoid it!....it's a big pain in the butt....looks nice, but a pain.
This is the sink cabinet with the holes cut out for plumbing and electrical. Good thing Sarah was there to help mark the holes cause I would've made it look like Swiss cheese.
Here's the other duct which ends under a cabinet. Time to make a custom duct...
...and here's the duct...it not only goes from 10"x4" to 2"x12" but also moves over about 4". We had to do this because there's a joist which dictated where the duct could come through the floor, and we wanted the register centered on the cabinet toe kick. Making this duct was super time consuming and I think Sarah had a half dozen cuts from the sheet metal.
Here's the finished duct, fastened with sheet metal screws, all seams sealed and ready for insulation. Always remember to insulate....otherwise you get a perpetually warm cabinet.
Sarah was pretty excited to finally put the drawers in the new cabinets. We decided on drawers for all the lower cabinets because you can access everything easier...and it looks great too. On a side note....if you look closer you can see a pencil line at the top of the lower cabinets. This was the line we shimmed up to to make sure everything was level with each other. The hardest part of the entire cabinet install was finding the high point in the room and marking that starter line on the wall.
Our future kitchen sink. Three things to know about farmhouse sinks.
1. They look cool!
2. They're a pain to install!
3. They're SUPER heavy!
Here's where the sink will go. The rails came with the sink, but all the little filler panels had to be custom measured and cut. There's one more filler to install under the rail and we're good to go.
I know Sarah's been looking forward to this moment for a long time; she can finally unpack all the kitchen things that have been stored away sink July 2010.
Here's the second bedroom with the carpet finally ripped out. Now it's time to remove the hundreds of staples and little nails.
And the front bedroom with the carpet gone.
Sunday, February 19, 2012
It's been a while since the last post. We've been busy starting the cabinet install, which has been much more difficult than we imagined because of A.) an old house with super wavy and slanted walls, B.) the design's a little complicated and C.) we've never done this before. So all that added up equals time and a little frustration, but we'll have it done soon enough.
And here are some pictures:
Starting out with the corner cabinet...
Here's the duct coming up under the full height cabinet. The duct will turn and blow out under the toe kick.
We had to fabricate the base for the full height cabinet. The duct from the picture above will fit in this cavity.
Before the cabinet goes in we have to glue on a white finish panel.
So far we have these four upper cabinets in. The big filler panel is just a temporary thing for spacing. Once the finished floor goes in we'll put in the permanent panel.
And a big surprise...it actually started to snow today! We had about 3 inches when I took this and were expecting another 2-3 inches.
Our back alley never looked so nice...
...And our new tree had its first snow.
Wednesday, January 18, 2012
More Progress
The drywall is up and the first primer coats are down (many thanks to Sarah's parent's for helping out on the cost of the drywall install and to my dad for helping out with the priming).
Getting the beam ready for trim involved attaching some furring strips and cutting the bolts down at the connectors. The new toy is in this picture too...a 12" Bosch compound miter saw.
Sarah spent the day cleaning the brick in the background.
Subscribe to:
Posts (Atom)