Monday, December 31, 2012

We hope everyone has had a very Merry Christmas and a great New Years so far!! We'll as you know it wouldn't be much of a holiday around this home without a a lot of DIY work on the house. Since Thanksgiving we have been working mostly on the bathroom tile and plumbing. Lets just say little tiles take a lot of time and patience  I think we spent a total of 5 days laying the lantern wall tiles and hexagon floor tiles. Thankfully they came in sheets of 12" x 12" and 12" x 24" . 


Sarah finishing the final touches on the diamond floor pattern. If you look closely you can see how the tiled linear drain looks. Not bad. You pretty much see a slit in the floor pattern and that's it. We've already had a few people ask where it was.... These pictures are before grout.

 some one is pretty messy here...


 So grout day was Christmas eve for us. We completely underestimated how long it takes to grout walls. We  ran so close we missed our 4pm Christmas mass. Yikes... Luckily we made it to mass at 11 pm at Sarah's parent's house.


And here we are the tile and grout are complete!! The wall color is a purple/gray. Also, notice the small shampoo niche. Ben did such a nice job!! 


  We love these tiles!!


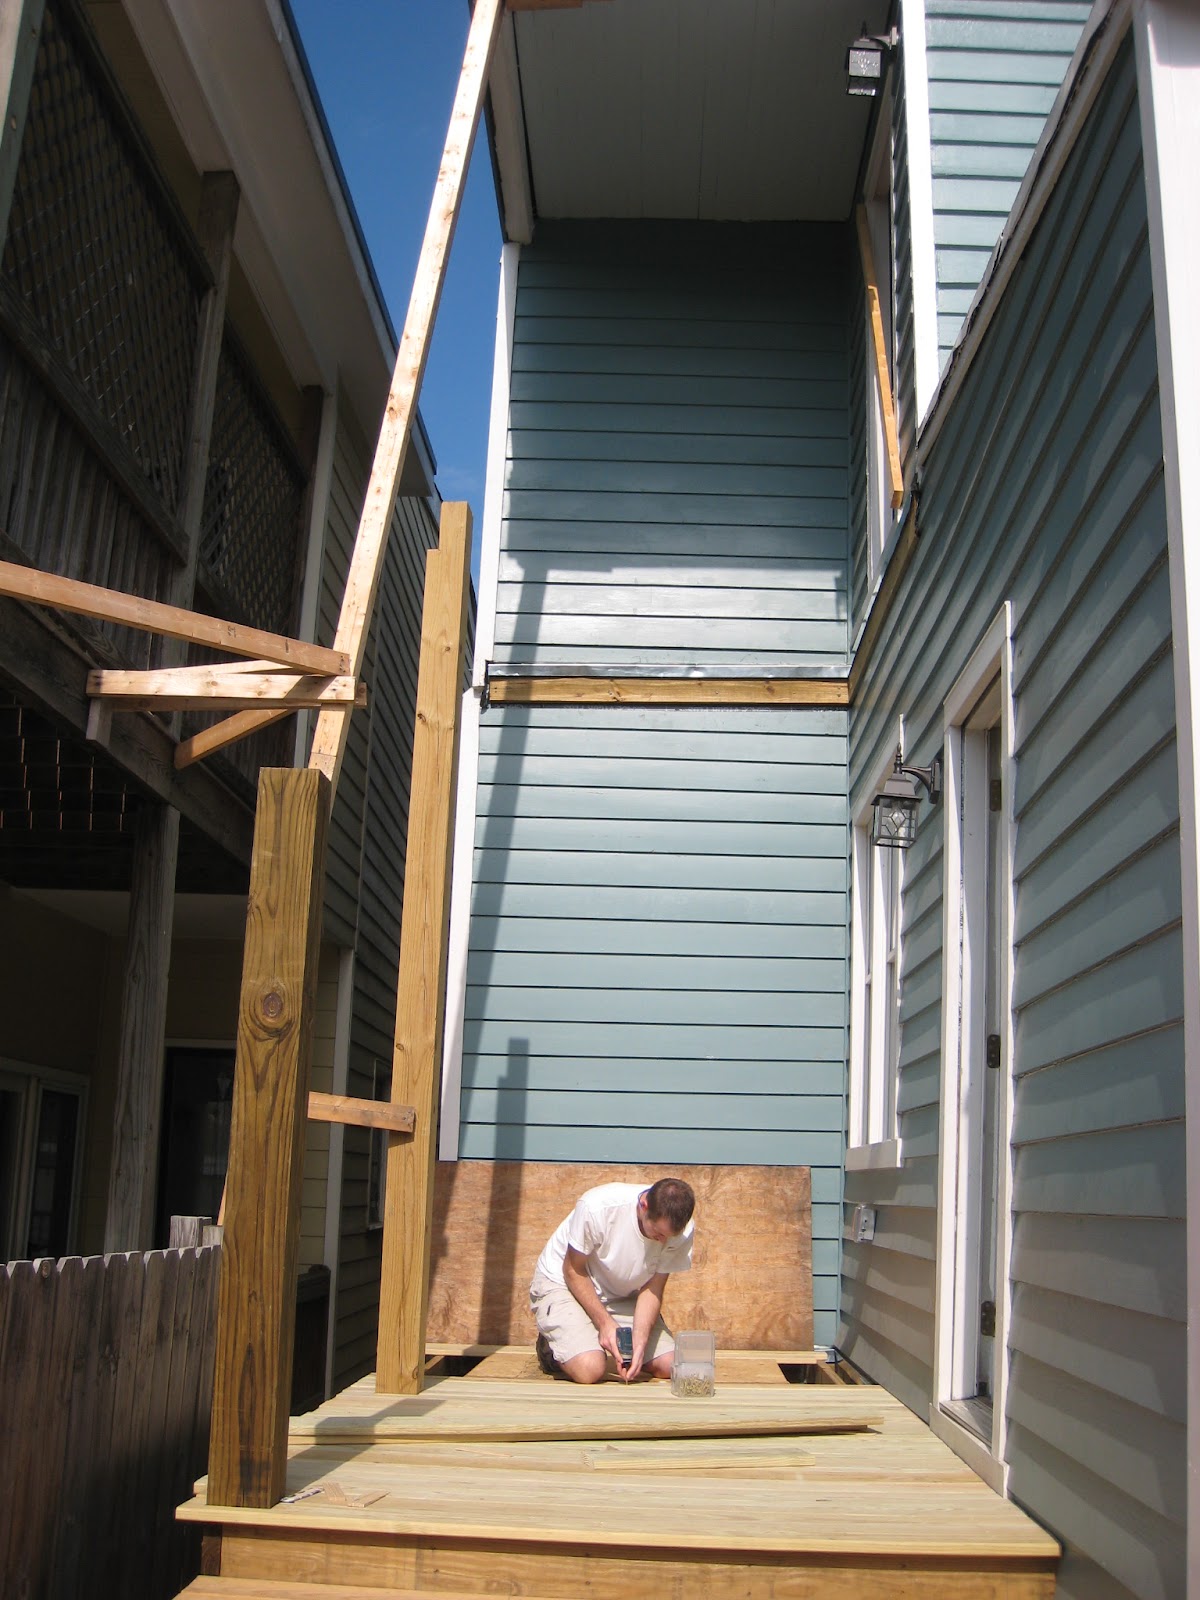
Next Ben moved onto plumbing. Before we dry walled the bathroom Ben made sure all the plumbing was in the exact place. And by this shot it was a good thing. As in every task as being design professionals we like to make things hard on ourselves. In this instance, we could have gotten a full size vanity where the plumbing could go anywhere. Instead we choose a furniture vanity with an exposed space below the cabinet. Which meant we would have to have do a lot of rigging to get the plumbing just right to work. Ben's a genius ! The sink works, doesn't leak, and drains! 


While Ben was working on the sink, Ben's father helped us out with the toilet install. If you remember correctly, this toilet was on the opposite side of the room before. Ben moved it to the other side while re framing the floor. So far this toilet works too!! We still need to perform the real testing, but lets just savor this milestone for now!

A nice shot of the vanity. We searched very hard for this vanity. We eventually found it in northern Virginia. It has a gray and white marble top with a curved rectangular porcelain sink.


Do you remember the before?? Gross!! 

Now!!! All we need are some glass doors and bathroom accessories!! 
Ben also started on our Kitties new home. There will be a small door here leading into the kitty potty. I'm thinking we can put Millie and Abbey's initials on the door with a small latch :) haha. Just kidding. 


Still working on what to do with this fireplace surround, but we just painted the black to match the one upstairs. 

 We also have been doing a little bit of furniture shopping. We needed a small cabinet for under our TV in the niche. We had to have something to match the exact size and we really haven't found anything that didn't cost less than $400 until this week. Ben stumbled along this one on Craigs list for $45. It was perfect. It just  needed a few repairs and a fresh coat of paint!


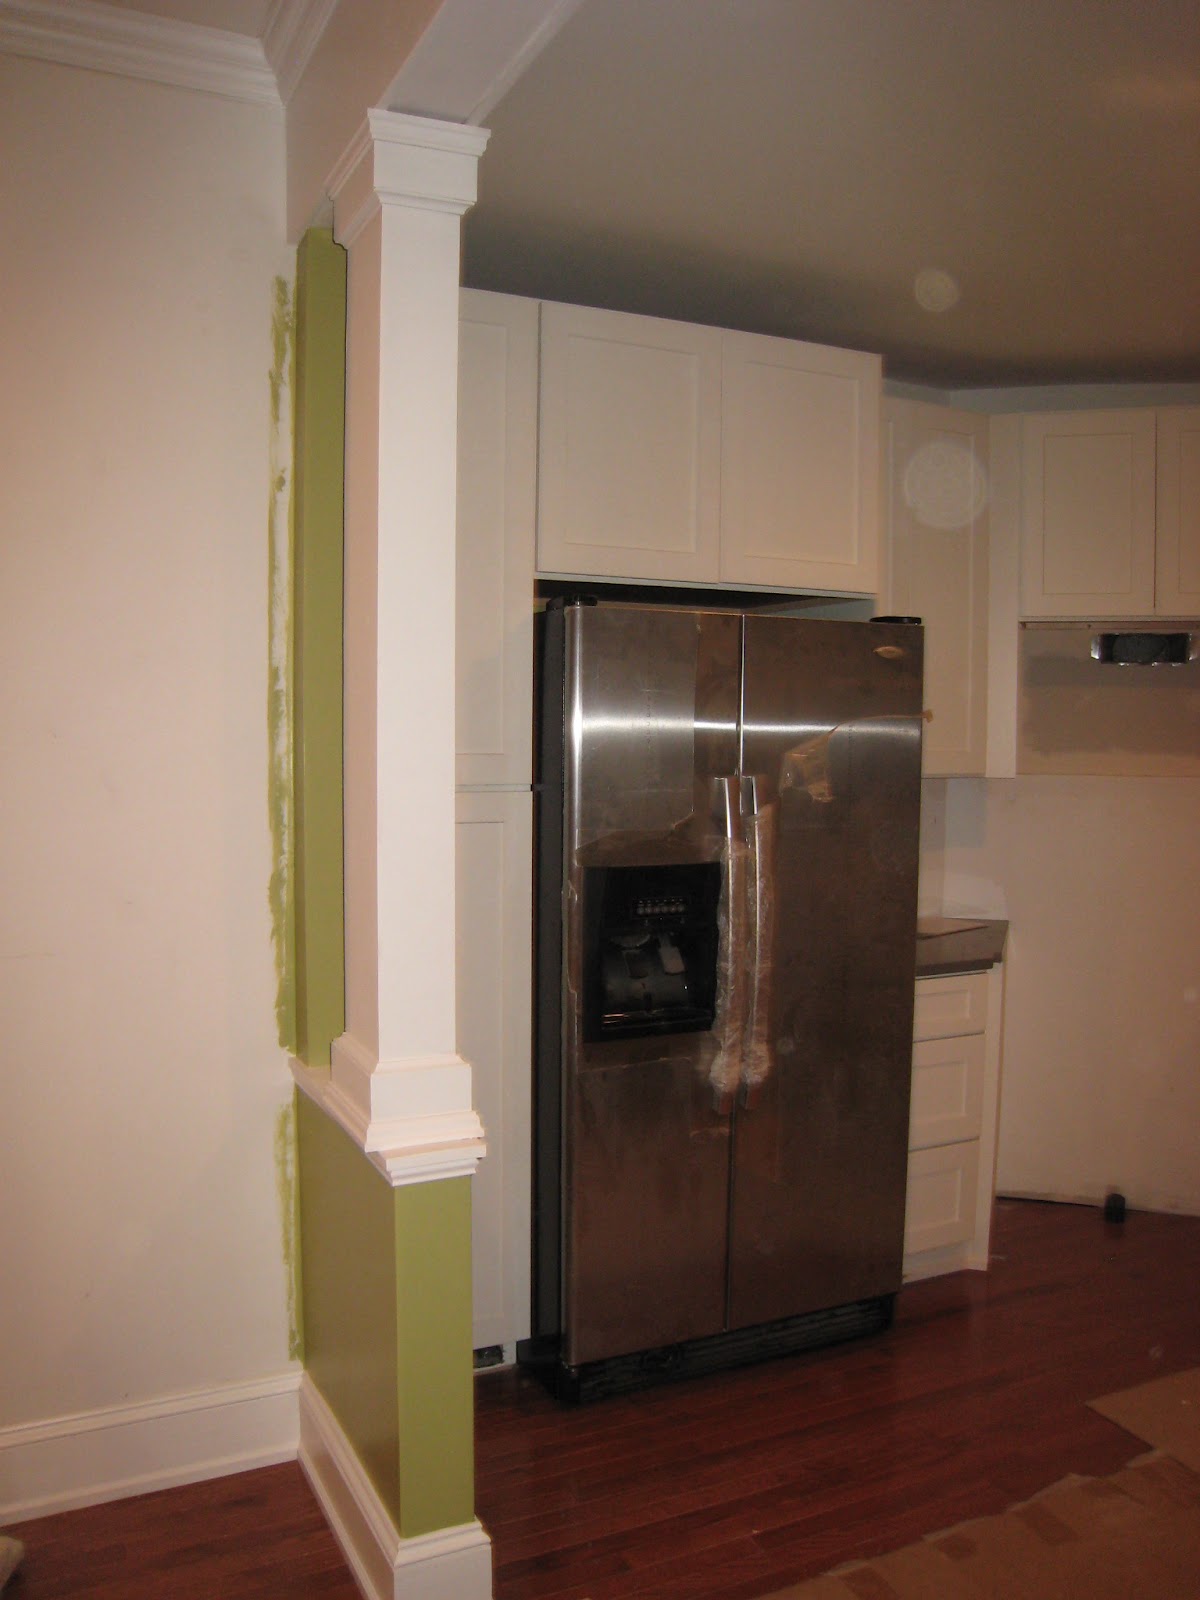
A whole new cabinet!! 


Lastly, here is the view of the kitchen and living room today. Ben's Mom and I worked to clean up and started moving and organizing furniture. For our Christmas present this year Ben and I got a new sofa, it will be here this weekend. 

Well that's it for now, we are finally getting very close to being able to live in our new home! Ben and are looking forward to being able to do a lot of relaxing in this room. 

Sunday, November 25, 2012

Hello Everyone! We are back with some of our newest updates. Since our last update we have been working on the finishing up our Kitchen and Bathroom. Take a look... 

Blocking for crown molding at kitchen cabinets 


I think this took almost an entire weekend.


Crown is up and about to be painted to match the cabinets. Its tough to get the exact paint match but well worth it in the end. 


Frosting the cake... 2" x 10" Italian tile in variations of blue, green, gray with bronze highlights. 


Ben's adding the waterproofing membrane for our shower


New Wainscoting in the main hall- the opening will have a secret door shielding a secret place for our kitties and will provide a little extra storage. Soon to be painted...


Starting to add some shimmer in our shower... 1" white and gray hexagon porcelain tiles. The tile pattern in the center of the shower will be gray and white diamonds along with an custom border. You can also see the linear drain in the background. It will soon have tile over it so it will become completely invisible.

Don't be fooled! 1" Haxagons tiles mixed with custom pattern, curb-less design, tiled drain, and building up a slop is tough... We almost called it quits here!


But we kept going and here is the rest! Up next are those shower walls and grouting!


A look at our new Kitchen tile and crown molding


Can you tell we love this sink!! 

Well that's it for now. We are getting closer and closer to moving into this place. 

Sunday, September 30, 2012

Another few weekends working on the house, some good times, some trying times, and of course pictures...


The new sconces above the kitchen sink.


The new ceiling fan in the living room.  Everything else in here including the paint is all done.  You can also see an old antique chaise lounge.  Our old neighbors gave us that and fixing it's the next project once we finish the house.


Finally we have a working sink!  The dishwasher's all hooked up too.  The only things left in the kitchen are the tile backsplash, crown molding and some touch-up painting.


Sarah finishing up the painting of the big kitchen window...


The TV niche is all done.  There's a lot going on in that little wall...plumbing, electrical, a conduit for TV cables...so nice to see it all done.


Just for fun we pushed the dresser in its final spot...and it just fits with about a half inch on each side.  

And this past weekend we tackled the decking for the downstairs deck...


And last but not least the bathroom is finally all closed in and primed.  Now it's time to install the shower, tile, and we'll almost be done with this place!


Wednesday, August 22, 2012

It's been a while since we've given an update, so here are some pictures of what we've been up to the last few weeks.

We worked on trimming out the columns...


...and here it is almost finished.


The decks have been recently removed.  New ledgers are going up which are now properly flashed and fastened to the house...definitely don't want these things coming down!

Not the best lighting, but here's a shot of the new sink and counter top.  If you want a farmhouse sink get the one from Ikea...it's nice looking and very cheap compared to the others out there.  It's a little tricky installing these though.  Most cabinet brands don't make a cabinet for these, so what we did is use an over-the-fridge cabinet on a 4" built-up base.  We then used filler panels to fill in the areas around the apron.  If it sounds like a lot of work it is, but in the end, like most things that are difficult, it's worth it.

You might notice we FINALLY have working downlights and wall outlets.  We found the perfect electrician so if anyone in the Richmond area is looking for one let us know.  Also many thanks to my sisters Mary and Berni & Mom for helping out with the painting...

...and to Dad for working out in the heat helping to fix the foundation wall.


And to make it feel like a finished space we installed our new (guess it's still new but it's been sitting in storage for 2 years) refrigerator!!  The end is finally near in these two rooms...we still need to finish up the pendant lights, under cabinet lighting, microwave install and crown molding above the cabinets.  Then it's onto the bathroom, but hey that's the last room so how hard can it be??

Monday, July 9, 2012

After a couple weekends we finally have some big milestones.  First off, we finished installing the hardwood floor in the living rooms and kitchen.  We saved quite a bit doing it ourselves, and other than a few mishaps here and there, it was pretty easy.  We also had some help from Sarah's parents and sister last weekend priming and installing trim in the living room.

The stained glass window has also been installed, something that we've both been waiting for some time now.  Every week that passes the house feels a little bit more, well, like an old house should.  When we moved in, the house was little more than a museum of bad design decisions from the 70's and 80's...a pandora's box of dark brown carpet, vinyl that smothered original ironwork underneath and fake wood vinyl flooring, all with a smell that would even drive away squatters.  So one of our main missions was to peel away these bad decisions and bring out the house's true character, all the while discreetly bring it into the 21st century.  We're getting closer to that goal...


Finally taking a break after finishing up the floor


I took this picture while working in the AC...I felt a little guilty, it being 105 degrees outside, but I'd rather be guilty than hot.  Many thanks to Sarah's sister Amy and mom Liz for helping.

Sarah helping her dad install baseboard.

...the stove fits!

...installing casing at the back kitchen door.

...getting the rough opening ready for the stained glass window.


...and it's finally in!.  There's still some clean up to do (the vertical lines are wood blocks holding the window stops as the glue sets) but overall it's looking great.


And this is what we meant about the house feeling like an old house should...something as simple as a stained glass window can completely change the feel of the house.